
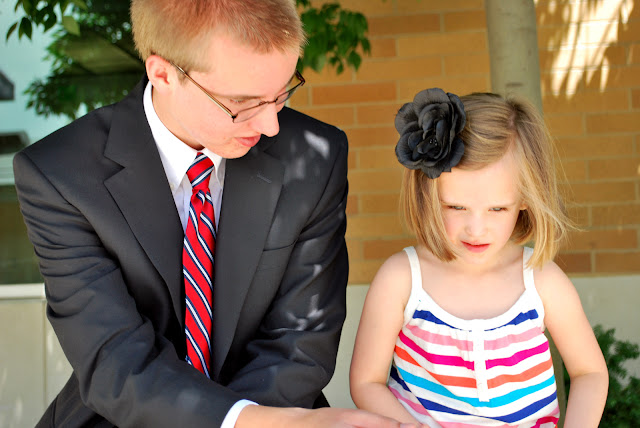
You are going to go from this.....

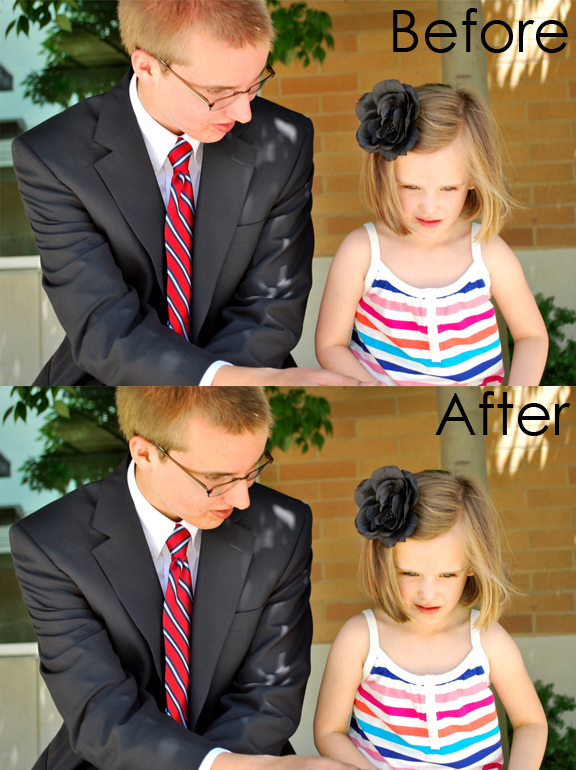
See the difference? It's so slight is ridiculous! But so much better!!
First you open up the image you wish to color correct. I chose to use one of the image that Elizabeth had used in her tutorial.
You are then going to make what is called an "Adjustment Layer" ( Click on a circle that is half black and half white)

You will open a "Selective Color Layer Adjustment"

This is what the dialog box will look like.

Selective Coloring is a tricky Dialog Box. Make sure that "Relative" is check and not "Absolute". Depending on the Color you are on (we want to be on "Red" because that is the color we want to eliminate from the skin tones) depends on how you will slide the bars.
Sliding the slider to the right for Cyan will eliminate the cyan color from the image and sliding it to the left will saturate the cyan color. With the other color sliders, (magenta, and yellow) sliding the slider to the right will saturate the Magenta and Yellow color in the image, while sliding it to the left will eliminate those colors. While the Black slider, will add contrast to the image. Slide the black slider to the right to increase the black and slide it to the left to decrease the blacks.
Go and play with what I am talking about. You will see it. Play with each Slider individually, meaning bring each slider back to 0 before you move on to the next to see how the slider works for each color.
These are the numbers I felt gave me the correct skin tones I wanted.

Now I erase everything except for the skin tones.

press "E" to select your eraser tool (make sure your "hardness" is not at your hardest) and "X' to switch your foreground and background colors to make white the foreground color and the black the background color. Then erase everything but the skin tones. It doesn't have to be perfect. I did this in 5 sec, seriously.

After doing that, I still felt it was a little to red. So I created another Selective color Adjustment Layer and only slide the Cyan color

I now have three layer. My original image, my first selective color layer and my second selective color layer. Then i saved it as a jpeg as a new file. I always keep my original files.

Now remember it was a hot hot summer day and they were already a little red from the heat, but the image has improved a lot.. no?
Here is a close up of Audrey before and after.

Here is the before and After
I hope this was helpful!
If you have any questions please leave a comment or email us at lovinglifedesigns@gmail.com