
Then we realized that it might be a frustrating experience to download the fonts, that we use, if you have never done it before.
With that in mind, I present to you a tutorial on How to Download and Install Fonts from the Internet.
I've created instructions for both Apple and Microsoft users.
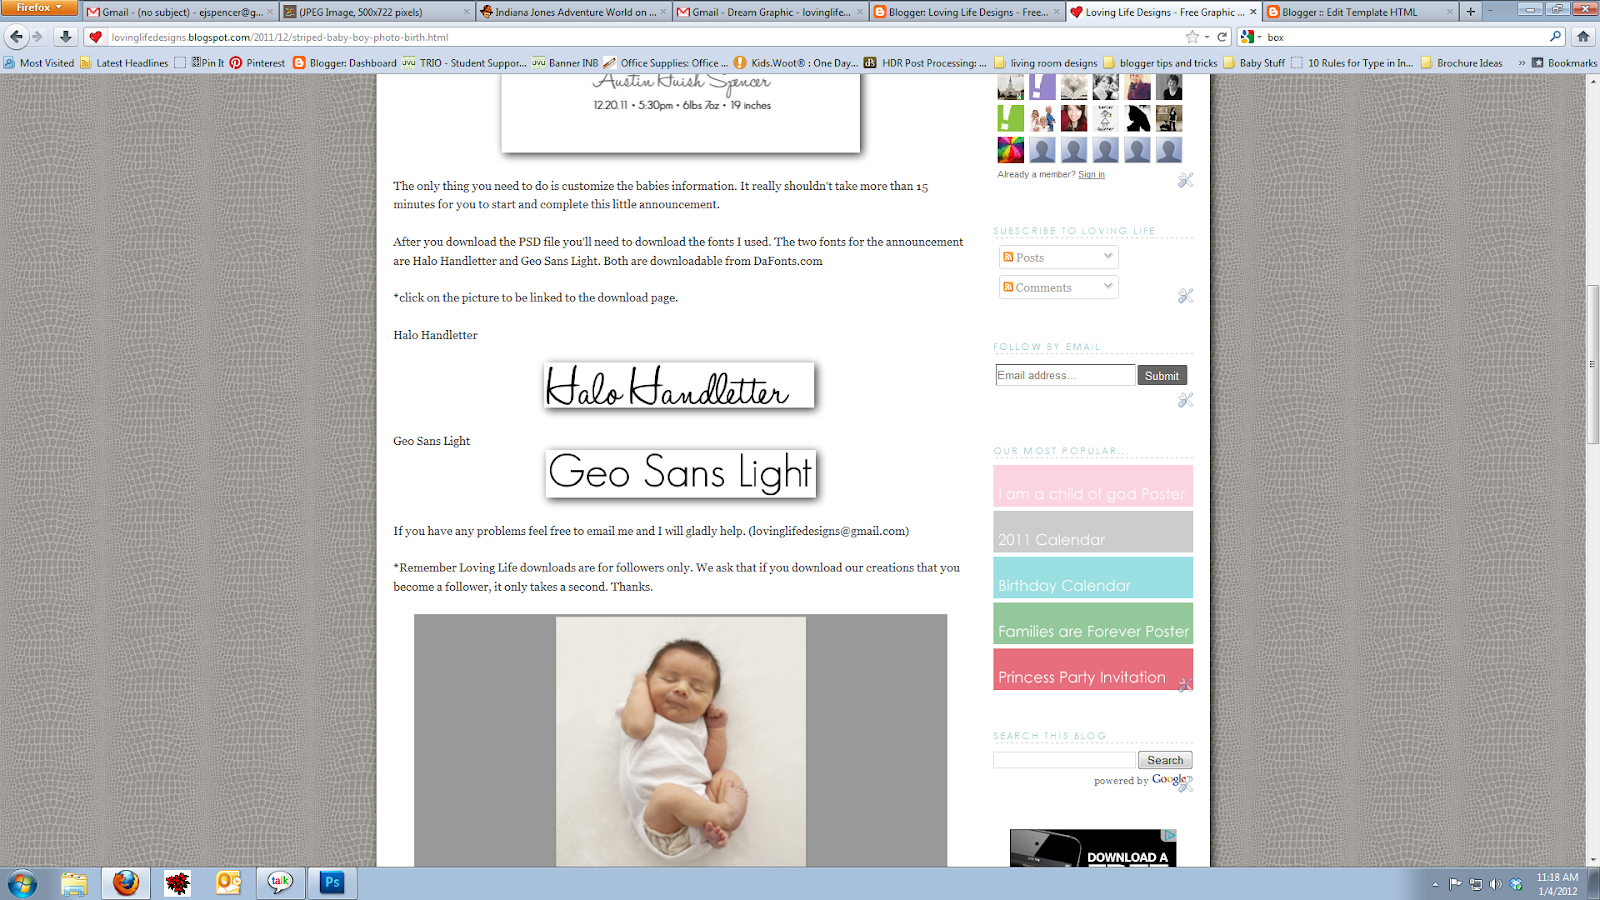
Take Note: With all of our font downloads we will make it easy for you to find the font. Normally we'll just link to the intended fonts download page, like in our last post - striped baby boy photo birth announcement. This post I posted a picture of the font and then the picture links to the download page.
These following steps are for both Apple and Microsoft users.
The first thing you're going to do is click on the link we have provided for you - in this case the example image of Halo Handletter.
Note: if you are having trouble seeing what I have written on the screen capture, click on the picture to make it fullscreen and then press esc to go back to the post.

The link will then direct you to the download page.
Click on the word download to start the process.

Dafont.com has it on the far right (pictured above), Font Squirrel has it on the right (pictured below) and Fonts for Peas has a picture on the bottom of the page (also pictured below).


*For Microsoft (PC) users follow these steps on how to install fonts from the internet.
A dialog box will appear asking if you want to open the file or save the file.
SAVE THE FILE! DON'T OPEN IT!


This next bit will be a little tricky. You need to find where your computer saved the file.
Firefox will open a second dialog box which will show you the progress of the download and once complete you can right click the download and tell the computer to open the containing folder. Firefox will have saved it to a downloads folder.
Internet Explorer will download the file and then ask you where you would like the file to be saved. Best place for a quick install is to save it on your desktop.
Next you will have to open the downloaded ZIP and extract the files. When extracting files from a zip Windows/Microsoft will ask you where you would like the extracted files saved. I save them in the same place I saved the download (in my downloads folder or my desktop).


The newly extracted folder will then appear.
Double click on the truetype font file.

Yet again, another window will appear showing all the characters of the font and then an example of what the font will look like at different font points.

Finally click install.
 Viola you are done!
If you don't want to keep the ZIP file or the extracted file you are more than welcome to delete the two files, because the computer will save the font into the fonts folder. No need to think about installing that font again.
*For Apple users follow these steps on how to install fonts from the internet.
When you click on the download button, on the fonts download page, Safari will place the downloaded file into a downloads folder on the mac.

The easiest way to find the new download is to click on the small download icon on the top right of the browser window (pictured below).

Double Click on the new download and a window will appear asking about the newly downloaded application.
Click open.

A font dialog box will appear.
Click on Install Font.

Once installed the Font Book folder will appear showing that the font was installed and placed in the folder.

Viola you are done!
Now you can now delete the download file, if you so choose, because the computer has saved the file to the Font Book.
I hope that helps and clarifies the font install process.
If you have any questions, comments or concerns feel free to email us at lovinglifedesigns at gmail dot com or leave a comment.
Coming soon - How to edit type in a PSD files without using or having Photoshop.
No comments:
Post a Comment